Part 5 – Planning for the Unexpected
- Dec 5, 2025
- 9 min read
Planning Beats Panic: Crisis Routes, Communications Plans & Safe Zones
Introduction — Why Planning Matters More Than Gear
When disaster hits a city, the difference between orderly action and chaotic reaction is not how many tools you own — it’s whether you planned ahead. Good planning reduces panic, shortens decision time, and preserves critical resources. You can’t improvise an effective route, confirm your family’s location, or coordinate help if you haven’t thought the situation through beforehand.
When you live in a city, preparedness isn’t just about stocking supplies—it’s about understanding the specific risks that could affect your region, your neighborhood, and your personal daily routes. Every urban area has its own threat profile shaped by geography, politics, infrastructure, climate, and demographics. Knowing what can happen allows you to prepare effectively and avoid surprises.
This article walks through the core components of urban crisis planning: how to identify regional threats, mapping viable routes (PACE planning), building robust communications plans, and selecting and maintaining safe zones. These are practical, repeatable steps you can implement this week.
1. The Planning Mindset: Simplicity, Redundancy, and Realism
Effective planning uses three principles:
Simplicity. Plans must be easy to remember under stress. Complex flows rarely survive panic.
Redundancy. Always have backups: multiple routes, multiple comms channels, and multiple gathering points.
Realism. Build plans that match likely scenarios and your actual capabilities (mobility, local laws, family constraints).
Your goal is to create a plan you’ll actually use when it matters.
2. Identify regional threats
A. Start with the Big Picture: Natural Hazards in Your Region
Natural disasters are some of the easiest threats to identify because they follow geographic and climatic patterns.
Start by asking:
What natural disasters occur in or near your city?
Check for:
Earthquakes (West Coast, fault-line cities like LA, SF, Seattle, Salt Lake, St. Louis)
Hurricanes & tropical storms (East Coast, Gulf Coast)
Tornadoes (Central U.S., Southeast)
Wildfires & smoke (Western states, drought-prone regions)
Flooding (river cities, coastal cities, low-lying urban basins)
Extreme heat or cold (Southwest heat domes, Northeast blizzards)
Drought (Western states, agricultural regions)
Where to find this information:
FEMA Hazard Maps
State and county emergency management websites
USGS hazard maps (for earthquakes, landslides, volcanoes)
NOAA climate, weather, tornado, and flood data
Local government hazard mitigation plans
These sources give you a clear baseline for the major environmental threats your city is already known for.
B. Analyze Local Infrastructure Risks
Cities depend on huge, complex systems. If one fails, many follow.
Key infrastructure threats to consider:
ower Grid Vulnerabilities
Frequency of blackouts
Known transformer issues
Weather-related failures
Aging infrastructure
Local utility reports
Water Supply Risks
Dependence on pumping stations
Droughts affecting reservoirs
River contamination risks
Single-source vulnerabilities
Transportation Chokepoints
Bridges, tunnels, and highways that could become blocked
Areas prone to accidents, gridlock, or closures
Reliance on public transit (subway, rail, trolley, bus)
Communications & Cyber Risks
Regional history of cyberattacks
Dependency on digital infrastructure
Local emergency communication systems
Cities with old infrastructure or centralized utilities are more vulnerable to cascading failures.
C. Understand Industrial & Technological Hazards
Many urban areas have industrial facilities or tech infrastructure that pose unique risks.
Look for:
Chemical plants
Oil refineries
Pipelines
Rail lines carrying hazardous materials
Nuclear power plants (within 50-mile radius)
Major shipping ports (targets for disruption)
Data centers (high-value targets for cyberattacks
How to assess your local risk:
EPA "RMP" (Risk Management Plan) facility database (Read only, appointment required)
State environmental protection maps
Local emergency response documentation
Fire department hazard maps
These facilities can affect you even if you don’t live directly next to them—airborne plumes, water contamination, evacuation zones, and infrastructure shutdowns may all radiate outward.
D. Review Crime Statistics and Social Stability Trends
Urban threats aren’t only environmental—they’re social.
Key crime and social indicators to track:
Violent crime trends
Property crime trends
Carjacking and theft rates
Homelessness density and encampment growth
Drug-related activity
Gang presence or shifting territorial disputes
Patterns of civil unrest over the past 10–20 years
These aren’t about fear-mongering—they’re about pattern recognition.
Where to find this data:
City police department crime dashboards
FBI Uniform Crime Reports
Local government safety assessments
Neighborhood-level community reports
Social instability often starts in pockets and spreads outward during crises. Knowing your city’s “pressure points” helps you plan safer routes, safe zones, and where not to go during emergencies.
E. Evaluate Economic Stability & Supply Chain Vulnerabilities
Cities rely on just-in-time delivery systems. A disruption of even 2–3 days can cause shortages.
Assess:
Your city’s distance to major distribution hubs
Dependence on trucking vs. rail vs. port imports
Food deserts or dependence on specific suppliers
Local reliance on gig economy for deliveries
History of panic buying during past events
Questions to ask:
How many days of food does your city typically have on shelves?
Are there alternate routes for delivery trucks?
Is your area prone to labor strikes?
Are there “single points of failure” (bridges, tunnels, highways)?
Economic shocks often hit urban centers first, because people compete for limited supplies.
F. Map out Political and Civic Stability Risks
Political instability affects cities differently depending on:
Demographics
Tension between local and state governments
History of protests or civil unrest
Policing policies and force size
Trust levels in civic institutions
Warning signs of political/civic instability:
Frequent, large-scale protests
Chronic underfunding of emergency services
Sharp rise in misinformation or polarization
High-profile political corruption cases
Declining trust in police or local government
These indicators matter because civil unrest tends to follow predictable patterns when people lose confidence in system stability.
G. Examine Local Environmental Health & Climate Factors
These often go unnoticed but can become major issues during crises.
Examples:
Air quality (industrial city? wildfire region?)
Contaminated waterways
Urban heat islands (temperatures 10–15°F higher than suburbs)
Soil contamination
Aging sewer systems that flood easily
Stormwater limitations
Local environmental health issues compound dramatically when the grid goes down or a natural disaster hits.
H. Look for “Cascading Threat Patterns” Unique to Your City
Many threats interact. The most dangerous crises are combos.
Examples:
Hurricane + power grid failure + water contamination
Economic downturn + supply chain shortage + rise in crime
Heatwave + blackout + wildfire smoke
Cyberattack + communications outage + banking disruption
Understanding combinations is essential for realistic preparedness.
I. Build a Regional Threat Profile for Your Urban Area
Once you gather data, consolidate it into a clear picture.
Create a simple threat matrix:
Threat Category | Probability | Impact | Notes |
Earthquake | Medium | High | Fault line nearby |
Grid failure | High | High | Aging infrastructure |
Flooding | Low | Medium | Some low-lying areas |
Civil unrest | Medium | Medium/High | Past incidents nearby |
Supply chain disruption | High | Medium | Dependent on 2 highways |
Industrial accident | Low/Medium | High | Chemical plant 8 miles away |
This helps you see which threats deserve the most attention.
J. Turn Threat Awareness Into Actionable Preparedness
Once you know your city’s risks, convert that knowledge into:
Route planning (PACE routes)
Safe zones (near + far)
Water storage & filtration strategies tailored to local water issues
Power outage prep (likely duration, seasonal risks)
GHB contents specific to your threats
Home hardening based on crime patterns
MAG roles based on local vulnerabilities
Preparedness is most effective when it’s customized to the region you live in.
3. Route Planning — The PACE Framework (Primary, Alternate, Contingency, Emergency)
Prepare at least four routes from key locations (home, work, kids’ school, frequent places):
Primary (P) — The quickest, most familiar route you normally use.
Alternate (A) — A route that avoids major choke points (bridges, highways, mass transit hubs).
Contingency (C) — A less obvious path: side streets, service alleys, pedestrian bridges.
Emergency (E) — A last-resort plan: footpaths, roofline egress, known safe houses or third-party locations.
How to build them:
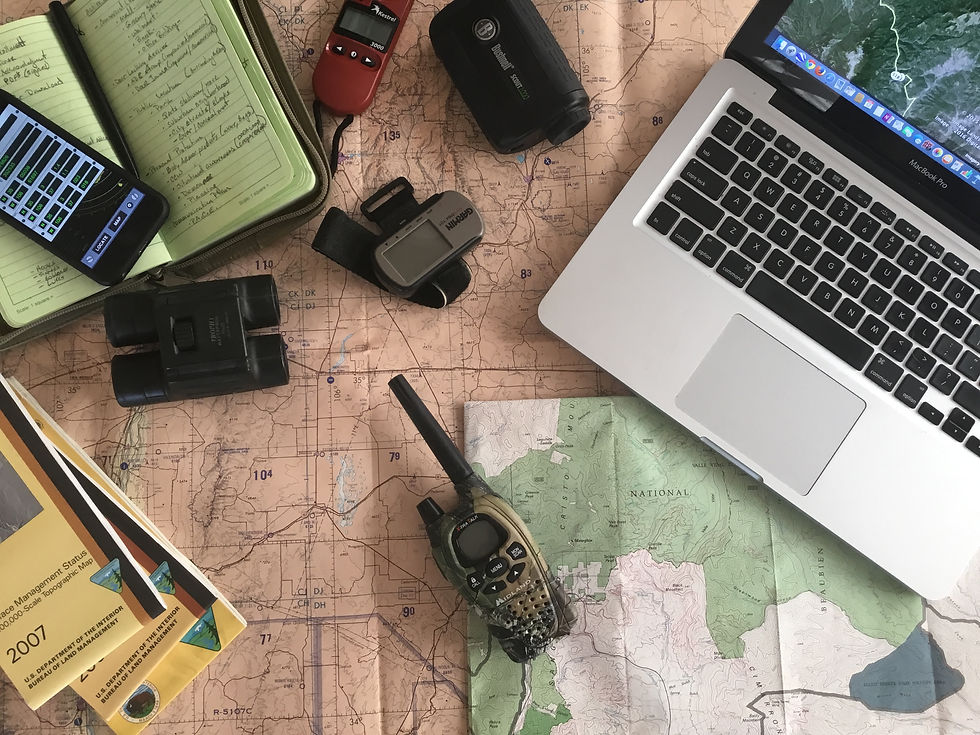
Map it manually. Use paper maps or screenshots. Don’t rely on GPS alone.
Mark hazards. Identify bridges, tunnels, stadiums, transit hubs, industrial sites, and major shopping centers—places that attract crowds or present structural risks.
Identify choke points. Where will traffic bottleneck? Where do people naturally funnel? Avoid these in A/B/C plans.
Time your routes. Practice walking or biking segments at different times of day. Mileage feels different at night or with crowds.
Plan rendezvous spots. Pick safe, obvious locales along the route where family or MAG members can meet if separated. These should be publicly accessible and remain so in local laws (parks, libraries, large retail parking lots—pre-agreed).
Remember mobility differences. If someone uses a wheelchair or stroller, confirm accessible routes and elevators (not just stairwells).
Tip: Keep a laminated copy of your PACE routes in your wallet or GHB and teach family members.
4. Communications Planning — Redundancy Is Life
Communications fail fast in a crisis: networks overload, towers lose power, and apps stutter. A resilient plan uses layered channels and clear protocols.
Core elements:
Primary channel: Regular cell voice/text when networks work.
Secondary channel: SMS-first (works better under load), then messaging apps if internet available.
Tertiary channel: Radio (FRS/GMRS, Ham, Meshtastic) Radios don’t rely on cell towers. Remember most radios are Line of Sight, terrain can limit range.
Fallback: Pre-determined physical rendezvous points and timed check-ins if electronic comms fail. Don’t forget to set up a safe signal for site.
Create a Communications SOP (Standard Operating Procedure):
Contact List: Printed + digital list that includes: full names, relationship, phone numbers (multiple), email, physical addresses, and any alternate contact (work, in-laws). Keep a copy in wallets, GHBs, your phone/tablet, thumb drive and cloud.
Check-in Windows: Establish times to ping one another (e.g., every 2 hours until everyone confirms safe). If no confirmation, move to the next escalation.
Status Codes: Short, unambiguous messages reduce confusion. Examples:
“OK” = safe and mobile
“HOLD” = sheltering at current location, cannot move
“MOVE” + location = moving to X route or rendezvous point
“HELP” + location = immediate assistance required (use only when truly necessary)
Simple Location Sharing: Teach everyone how to share a pin or describe a location with cross streets and landmarks. If phones fail, fallback to nearest named location (e.g., “Meet at Central Library north entrance at 14:00”).
Group Broadcasts: Have a single point of contact (POC) per household to minimize duplicated messaging and confusion. If your MAG is larger, designate a comms lead to manage updates and reduce misinformation.
Training: Practice your SOP during monthly drills to ensure people remember codes and check-in windows under stress.
5. Safe Zones — Types and Selection Criteria
Safe zones are locations designed for short- to medium-term safety: sheltering in place, staging for movement, or centralized MAG operations. Choose multiple safe zones based on distance and function.
Types of Safe Zones:
Immediate Safe Zone (ISZ): Where you shelter if an incident happens now—your apartment, office, or classroom. Should be quick to assemble with essential supplies for 24–72 hours. It could be a specific area in your house, like a safe room or an interior windowless closet depending on the hazard.
Initial Rally Point (IRP): A nearby public known location (park corner, community center, church) where household or MAG members meet if separated. Generally reachable within 30-60 minutes on foot. Depending on location and situation, I would make two IRP’s and name them. In the military, when we establish a patrol base, we make two rally points in opposite directions and name them Black and Gold. You may not be able to make it to one if something is preventing you from making it there. Designate amount of time to stay at this IRP before moving on. Have them attempt communications to inform others of their location and intentions.
Regional Safe Zone (RSZ): A location outside your immediate neighborhood intended for longer stays (friend or relative outside the city, community center, MAG-designated hub). May require multi-hour travel.
Operational Base (MAG Ops): For MAG members only—stocked with shared supplies, radio gear, medical caches, and tools (this can be rotated between members’ spaces).
Selection Criteria:
Accessibility (for all members)
Security (low visibility, good ingress/egress)
Capacity (can support people for 24–72 hours)
Water access or potential for water storage
Proximity to transportation and medical access
Legal/ethical considerations (permission to use the site if private property)
Prepare Each Zone:
ISZ: grab-and-go box, power bank, water, med kit. A good GHB will work for a “Go-Bag.”
IRP: store a small cache (location dependent) and verify it’s accessible to everyone.
RSZ: pre-arranged agreements with hosts, shared supply lists.
MAG Ops: organize inventories and leader assignments.
6. Psychological Planning — Reducing Panic Through Familiarity
Planning also reduces fear. When people know what to do—they act. That’s why practice matters:
Run tabletop exercises with family/MAG (20–30 minutes). Walk through a blackout, an evacuation, and a separation scenario.
Do street walks practicing routes during day and night.
Teach children the basic contact codes and rendezvous points in age-appropriate language.
Practice “Go Bags” so grabbing essentials becomes muscle memory.
7. Legal & Ethical Considerations
Respect local laws about radios, gatherings, and self-defense gear.
Be careful about trespassing for caches or routes.
Ensure supplies are priority for MAG members first and able to expand your MAG with neighbors if applicable. Preparedness logistics are about mutual aid (when applicable), not exclusion.
Conclusion — From Plan to Practice and Know Your City, Know Your Risks
A written plan without practice is decoration. Build simple PACE routes, start a communications SOP, and choose multiple safe zones. Then rehearse monthly. Planning beats panic because it converts theory into practiced habits that work when systems fail. Implement these steps and you’ll vastly increase the safety and resilience of yourself, your family, and your community.
Urban preparedness starts with awareness. Cities are complex ecosystems filled with opportunity, but also vulnerability. When you understand your local hazard profile, you can prepare smartly, avoid panic, and take calculated action when it matters most.
Preparedness isn’t guessing.
Preparedness is pattern recognition + planning + practice.


Comments